Batch-convert HEIC to JPG with ImageMagick

Vacation ends, and you'll want to share pictures with friends and team members. Since work and private accounts are separated, you'll navigate to a separate browser window to access your private iCloud account to download the pictures. The downloaded pictures are stored in the raw HEIC format. This format is sometimes not recognized by services. The file size is also huge and may cause Slack to not render the previews, or troubles with low bandwidth connections.
The following instructions help to convert the HEIC format to JPG as an automated batch command with ImageMagick. I'm already using ImageMagick to resize huge blog images. You can install it on macOS with Homebrew:
$ brew install imagemagick
Alternatively, add it to your Brewfile and run brew bundle.
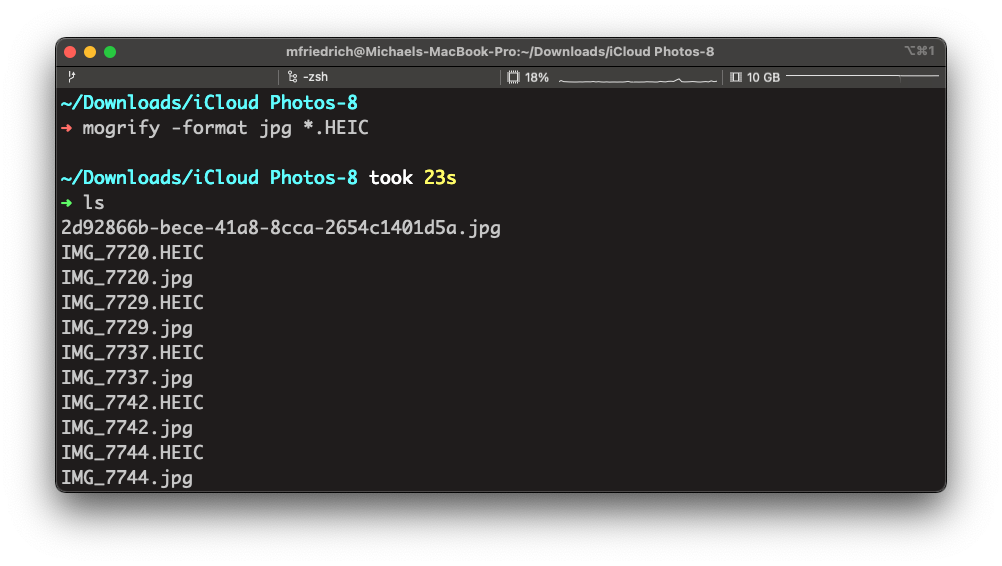
Navigate into the iCloud photo download directory and run the following command to convert the files, leaving the HEIC files intact.
$ mogrify -format jpg *.HEIC
Verify the converted files, and delete the HEIC files in case.
$ rm *.HEIC
File extensions may be upper or lower case. Using find with a case insensitive match helps solve this problem, install findutils with Homebrew. Alternatively, regular expressions could also be used.
$ brew install findutils

$ find . -type f -iname '*.heic' -exec sh -c 'mogrify -format jpg "{}"' \;
Tip: Add the commands above into a shell alias, or use them often to search via ctrl+r on the terminal. Note that the inner double quotes need to be shell-escaped with a backslash to \". The following example uses my dotfiles ZSH structure in .oh-my-zsh/custom/aliases.zsh:
$ vim $HOME/.oh-my-zsh/custom/aliases.zsh

# Convert HEIC to JPG
alias heic2jpg="find . -type f -iname '*.heic' -exec sh -c 'mogrify -format jpg \"{}\"' \;"

$ . $HOME/.oh-my-zsh/custom/aliases.zsh

$ heic2jpg