dotfiles - Document and automate your Macbook setup


Why dotfiles
When I first started working on Windows, Linux and macOS many years ago, there was this steep learning curve. Not everything on the system had a good default for improved productivity, often tools were missing to create your own work environment.
At first glance, I started writing blog posts and shared my findings with everyone. This had the benefit that I exactly knew where these snippets can be found. Many years ago, systems were not so reliable and often a full operating system reinstall worked better than troubleshooting existing problems.
After some years, many best practices had been documented in blog posts and were hard to apply in one go. Especially with working in many areas for development, professional services, ops and support, different settings and tools have been applied. At that point I had created a wiki page with text and screenshots.
The wiki page allowed for many revisions, and was kept in the internal Confluence since it contained company sensitive information. I often was asked how my Linux and macOS setup looks like and if I could share best practices.
Then I learned that users share their configuration and setup commands in a Git repository which is called “dotfiles”. At first glance, a dotfile is a hidden file on a Linux/Unix system, containing tool specific settings. Common tools are Git, vim, bash storing their configuration in a dotfile in the user’s home directory.
These dotfiles were enriched with scripts to install additional software via package managers, and to apply certain runtime configuration after the work environment was setup the first time.
dotfiles on my Macbook
My first steps with dotfiles started at the point where updating the Confluence wiki became troublesome. It also was the only left bastion where I could not write documentation in Markdown. Within the dotfiles Git repository, best practice always has been a README.md file which describes more details and tips. Copying snippets and scripts for everyone also has become easier. Users can even fork the repository and use this as a basis for their own work environments.
Navigate into my dotfiles repository to learn more. The following sections highlight some of my daily best practices as a Developer Evangelist at GitLab.
ZSH with OhMyZSH
macOS Catalina uses ZSH by default. Therefore I was looking into best practices and soon learned about OhMyZSH as shell framework. It comes with nice plugins which provide a native Git shell integration as well as exporting credentials as environment variables.
In addition to the built-in functionality, it is easy to add custom aliases and settings. Avoid clutter inside the main .zshrc file, instead extend .oh-my-zsh/custom/aliases.zsh for example. The following alias allows to clean up the local git branches very easily:
# Delete all remote tracking Git branches where the upstream branch has been deleted
alias git_prune="git fetch --prune && git branch -vv | grep 'origin/.*: gone]' | awk '{print \$1}' | xargs git branch -d"
Git Configuration
My Git configuration is rather simple. The reason I keep it inside the dotfiles repository is that I always forget about the Git CLI commands to set them properly. Over the years, all my preferred customizations have been applied in Git itself. The only minimalistic addons are a custom git log command and the credential helper setting. I need that for storing the GitLab personal token and not being asked by git push/pull all the time.
$ cat ~/.gitconfig

[user]
	name = Michael Friedrich
	email = mfriedrich@gitlab.com
        signingkey = D14A1F16
[alias]
        l  = log --graph --pretty=format:'%Cred%h%Creset %C(yellow)%d%Creset %s %Cgreen(%cr) %C(bold blue)<%an>%Creset' --abbrev-commit --date=relative --
[credential]
	helper = osxkeychain
The Git shell prompt integration is done with OhMyZSH as plugin. Previously I had done this with a customized Bash profile. I decided to go for ZSH with macOS Catalina and my new job at GitLab.
vim Configuration
Even with habits changed to using VS Code/Atom or the Web IDE, I am still very fast with vim, especially with spell checking included. I've been carrying this .vimrc file around for more than 10 years now and it always helped :) Here is the best of - there is more inside with syntax highlighting and restoring the cursor on re-open.
set viminfo='20,<1000,s1000,:20,%,n~/.viminfo “ Increase buffer size for search
set history=50            " keep 50 lines of command line history
set ruler                      " show the cursor position all the time
set nofixeol                 " don't fix end-of-line errors
"set background=dark
set background=light
set showcmd              " Show (partial) command in status line.
set showmatch           " Show matching brackets.
Install favorite software and tools
Homebrew is my favorite package manager on macOS. It ranges from adding simple tools like “htop” to applications not available in the app store like “Gimp”.
In order to keep things simple, the brew_once.sh script takes care of installing Homebrew, enabling the cask system for applications and installs wget/curl to setup OhMyZsh.
./brew_once.sh
Additional software is installed with the “brew.sh script. This can be re-run any time to ensure the same state is applied. This will be useful if an application was accidentally removed. Please fork the repository and adjust everything for your likings!
./brew.sh
The script takes care of installing the following:
- GNU utils (sed, awk, tar, sha256sum). The macOS utils differ a bit and may break scripts made for Linux.
- System tools (htop, pidof, pstree, grep, screen, nmap, ssh-copy-id, tree)
- Images (imagemagick) for easy conversions
- Archive and Git (git, git-lfs, p7zip, xz, tig, hub)
- JSON (jq, jo)
- Development (Ruby, Python, Go, Redis)
- Applications as cask (Java, Atom, VS Code, Firefox, VLC, Gimp, Vagrant)
Enhanced Workflows with Alfred
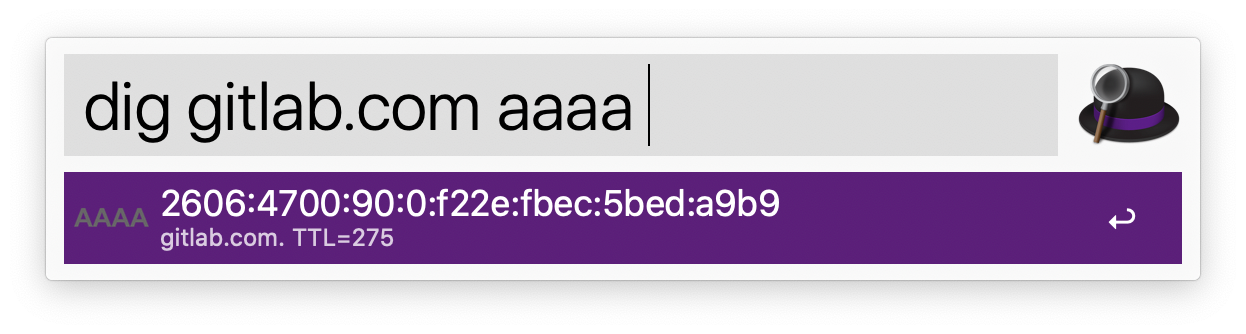
Alfred is not only a Spotlight replacement for opening applications or searching files. The major selling points are custom workflows accessible by quick typing. Picking HTML color codes, querying DNS records or copying emojis all over the place have become easier with quick shortcuts.
Tired of locking your screen on macOS? Cmd+Space, l, Enter after Alfred has learned that l means lock. Yep, it remembers the most often typed commands.
Trackpad and Keyboard
I always used to have a mouse with me for my previous notebooks, and the change to the trackpad always worried me. Move the mouse, click here and on it goes. When I got my first iPad, I got introduced to just tapping and approving.
I’ve learned that this setting can be enabled on macOS too for the trackpad which is my preferred input method since then. In order to automate this setting, run the following CLI commands:
defaults write com.apple.driver.AppleBluetoothMultitouch.trackpad Clicking -bool true
defaults -currentHost write NSGlobalDomain com.apple.mouse.tapBehavior -int 1
defaults write NSGlobalDomain com.apple.mouse.tapBehavior -int 1
Another thing I prefer using - the right click for accessing the actions toolbar. By default, the secondary click is available with two fingers. My improved workflow prefers the right bottom corner of the trackpad. You can either change this inside the trackpad preferences or run these CLI commands:
defaults write com.apple.driver.AppleBluetoothMultitouch.trackpad TrackpadCornerSecondaryClick -int 2
defaults write com.apple.driver.AppleBluetoothMultitouch.trackpad TrackpadRightClick -bool true
defaults -currentHost write NSGlobalDomain com.apple.trackpad.trackpadCornerClickBehavior -int 1
defaults -currentHost write NSGlobalDomain com.apple.trackpad.enableSecondaryClick -bool true
Last but not least using tab for changing the focus area in windows is a must have. This is hidden in the keyboard shortcut settings as use keyboard navigation to move focus between controls.
defaults write NSGlobalDomain AppleKeyboardUIMode -int 3
Additional ideas and commands can be found in this repository.
Documentation
Everything else is stored in the GitLab repository, including the documentation in Markdown format. Additional screenshots can be put there too into the doc/images directory for example.
There is no need to carry an extra wiki page around and everyone can access the repository via URL. You can also download the whole archive and work offline.
The best thing about my dotfiles repository - it is open source and we can learn, share, suggest together :-)
Do you have a cool idea for making this even more convenient? Fork the repository and send a merge request please!
This blog post was originally posted on about.gitlab.com/blog.